I’ve had acrylic or gel nails for the last 20 years. Then Covid happened and I wasn’t going to a nail salon for a manicure. I tried doing my nails at home and did an ok job, but I knew there had to be a better way. That’s when I came across Olive & June and their incredible Mani System.
After I received my Mani System, I went to Olive University to learn everything I needed to know about caring for my nails, giving myself an awesome manicure and pedicure, nail art, and more. At Olive University you can watch videos, read articles, participate in Zoom classes, attend Boot Camp, and so much more. They offer basic instruction on a video, boot camp which is a seven day program teaching you how to give yourself an incredible manicure, and one hour beginner, intermediate, and advanced master classes. With all this help you can’t go wrong! You’ll be a manicure master in no time!
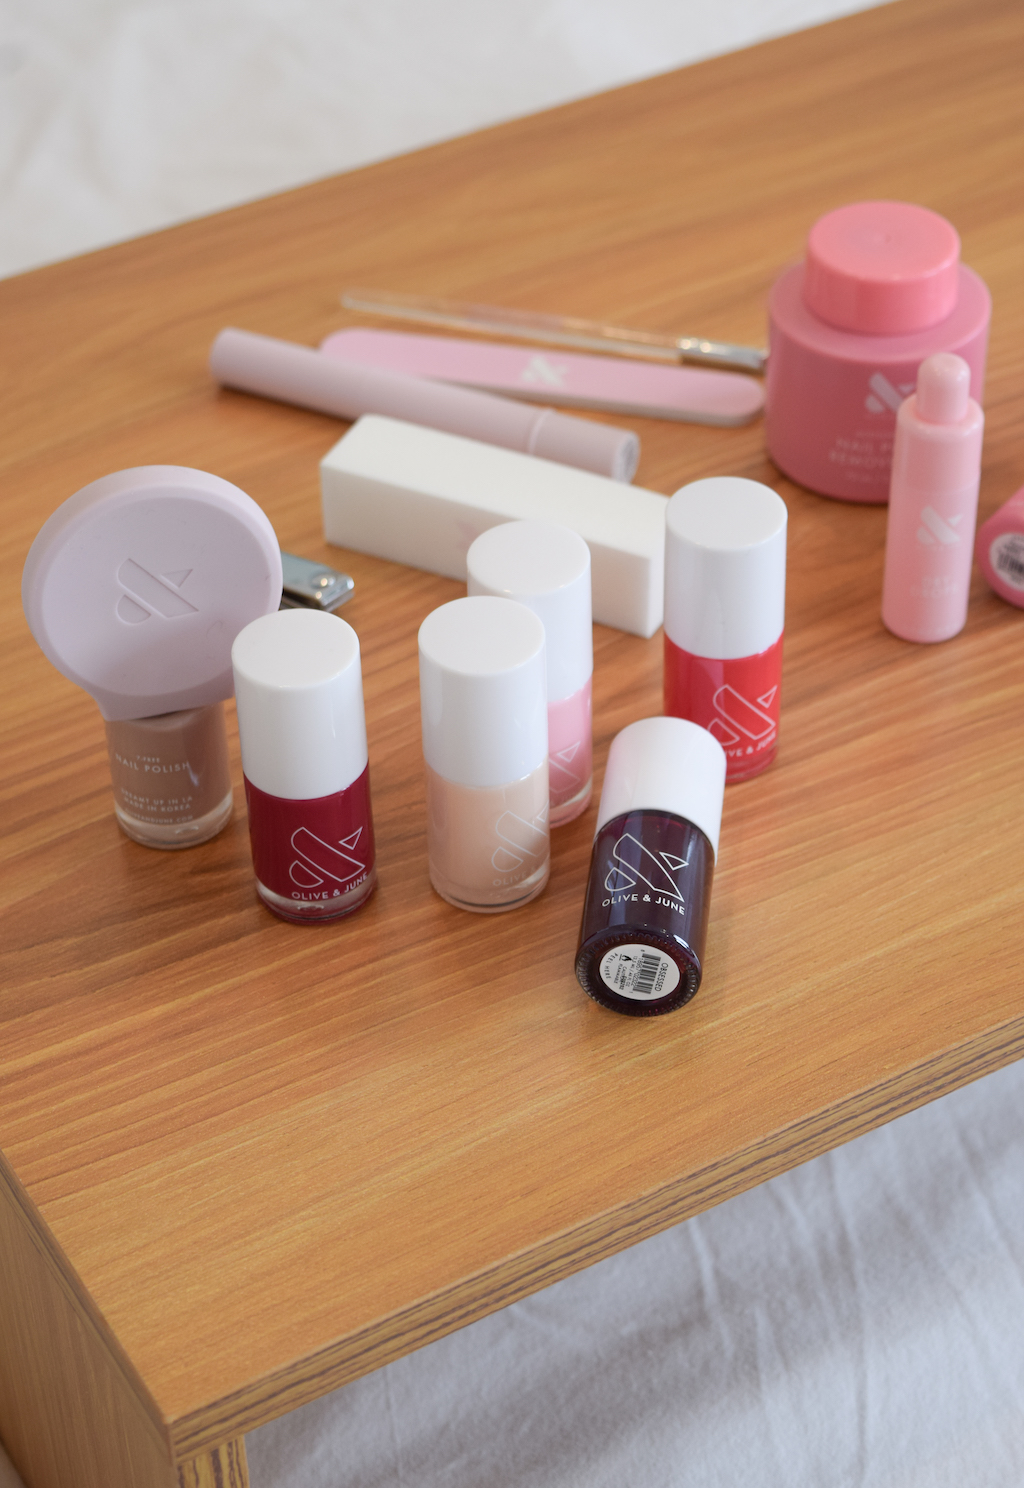
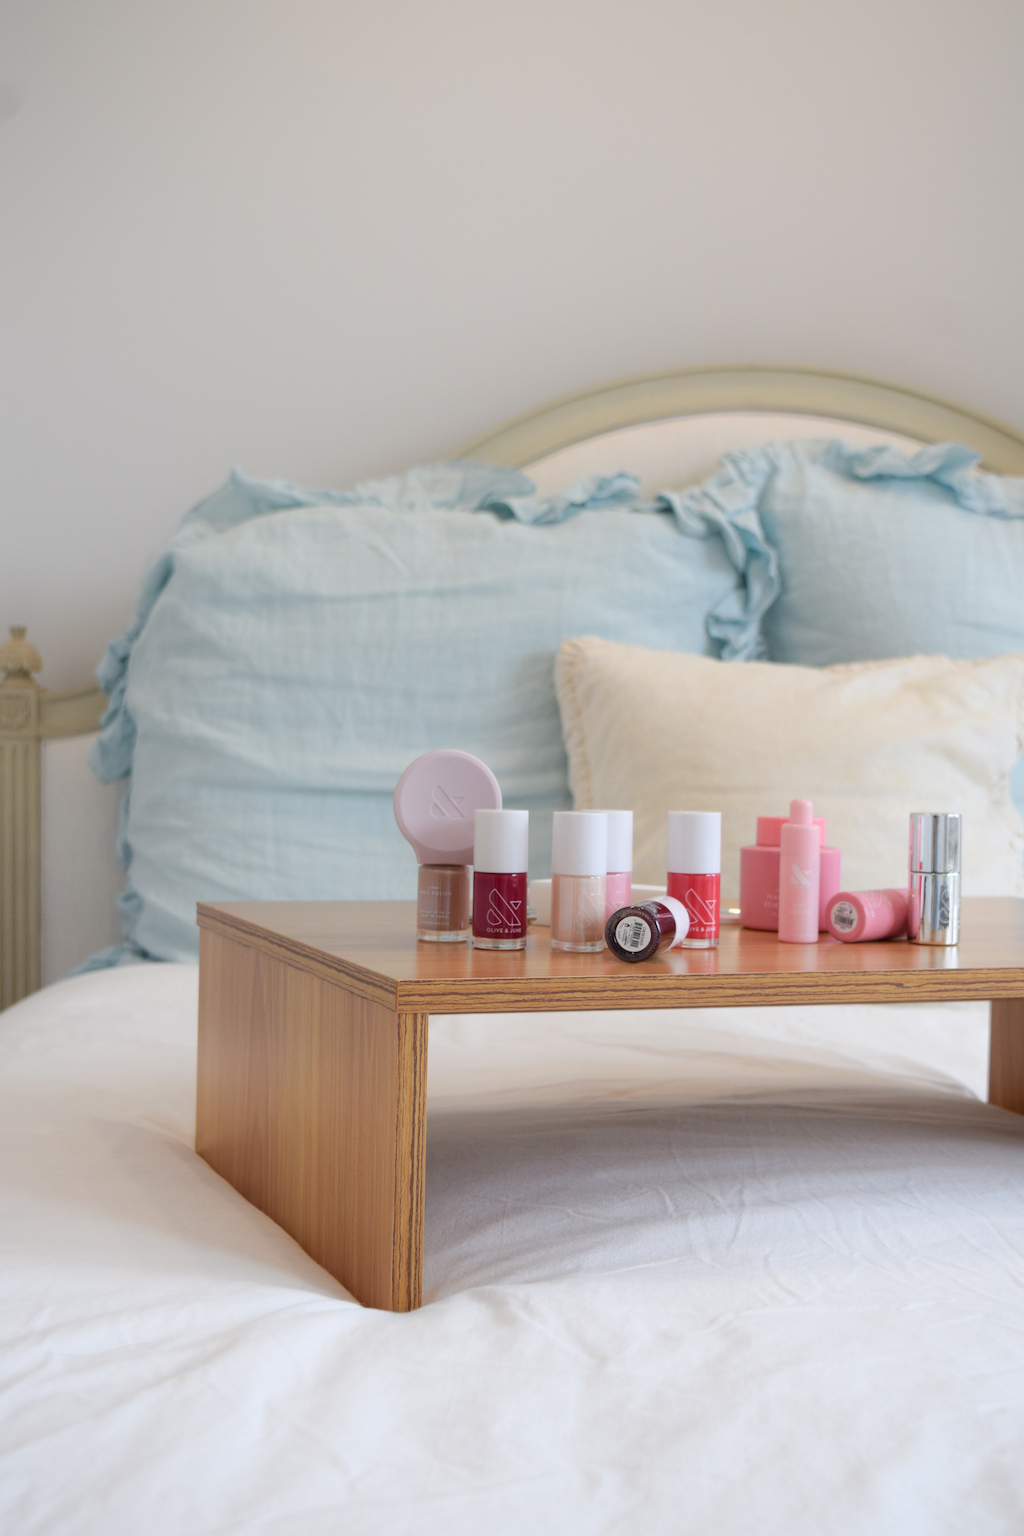
The Mani System includes::
acetone free polish remover pot-an easy, no mess way to remove your polish
nail clipper-these flat edge clippers will help you to create the perfect nail shape
nail buffer-buff and smooth your nails as they do in the Olive & June salons
cuticle serum-hydrate your cuticles with this Cactus Flower formula
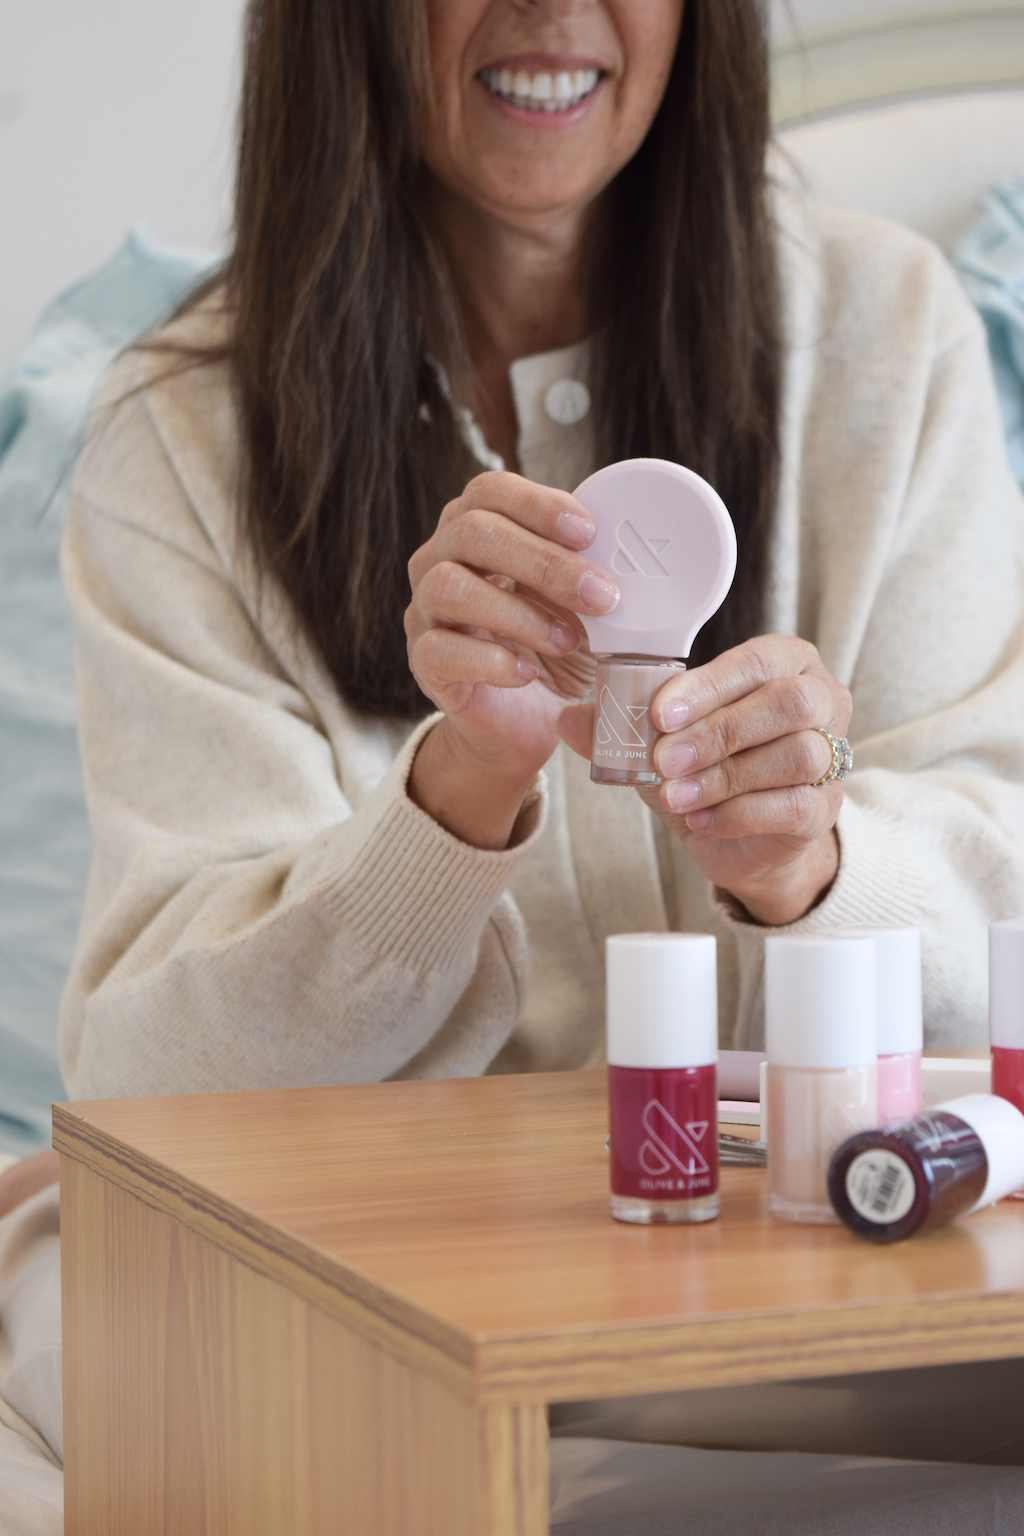
The Poppy-this handle, made of soft silicone, helps to give you more control whether you’re polishing with your dominant or non-dominant hand
glossy top coat-this protective top coat is custom formulated to work with Olive & June polishes to help your manicures last! It works with other polishes as well
clean up brush-this brush helps you clean up your manicure for a neat look
And you get to choose your polish-vegan and cruelty free polish that’s long lasting
Follow these 5 Olive & June steps to ensure a perfect manicure!
MANI 101
1. Shape
2. Prep
3. Poppy & Polish
4. Top Coat
5. Cuticle Serum
Before you get started, remember that Olive & June manicures are all 100% waterless – avoid washing your hands right before painting your nails and don’t soak your hands in water, etc. Water causes chipping, and no one wants that!
STEP 1: SHAPE
O&J shaping philosophy is the 90/10 rule. Use your clippers to achieve 90% of your desired length and shape, and use the file for last 10% —just smoothing the details. Smooth out the edges with your nail file for the last 10%. They always recommend filing your nails in one direction. This helps avoid shredding or peeling at the tip, and it helps you slow down.
TIP: Shape your nails with your old polish on. It will help you see the final shape. The whites of our nails can often be uneven and misleading, so this trick always helps us get a more perfect shape.
STEP 2: PREP
Gently push back cuticles with your thumbnail and use your buffer to smooth them away. A super light, gentle buff is all you need. Don’t overbuff, so as not to unnecessarily thin out your nails.
TIP: Unless you’re a licensed professional, it is recommended that you not cut your cuticles. You can hurt yourself and even cause an infection. O&J recommends only clipping any skin that is hanging with your nail clipper.
Finish with a dip in the Remover Pot to prep nails for polish. After this dip, remember to not touch anything and don’t wash your hands. Introducing any water or oil will make your beautiful polish chip.
STEP 3: POPPY + POLISH
Pop on Poppy for a super steady paint job. Line up the flat side of Poppy with the flat side of your brush. Apply 2-3 thin coats of your favorite polish. Remember to wait at least 5-10 minutes between each coat to let it dry. Each coat should be nice and thin— don’t worry if your first coat is streaky! It’s always better to do 2-3 thin coats that too few thick ones.
Clean up any mistakes and perfect your polish lines with the Clean Up Brush. Dip the brush gently in the Remover Pot and swipe away any mistakes.
STEP 4: TOP COAT
Apply a thin coat of Super Glossy Top Coat to add shine and protect your mani.
Tip: Reapply the Top Coat every 2-3 days to keep your mani looking fresh and shiny. It will also help keep your mani from chipping. (DOABH: This is such an incredible tip. I’ve been doing this and my manicures are lasting longer and looking better!)
STEP 5: HYDRATE
Once polish is completely dry, apply 2-3 clicks of Cuticle Serum to hydrate. Apply the Cuticle Serum 2-3x a day to keep everything happy and hydrated. For extra hydration credit, apply Hand Serum at least once daily.
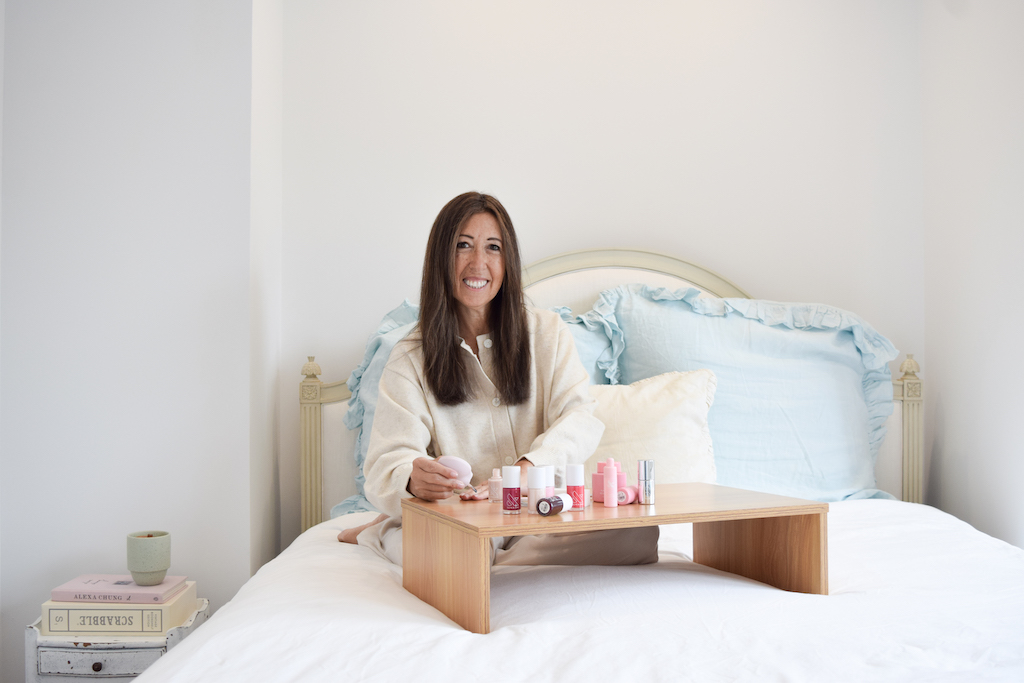
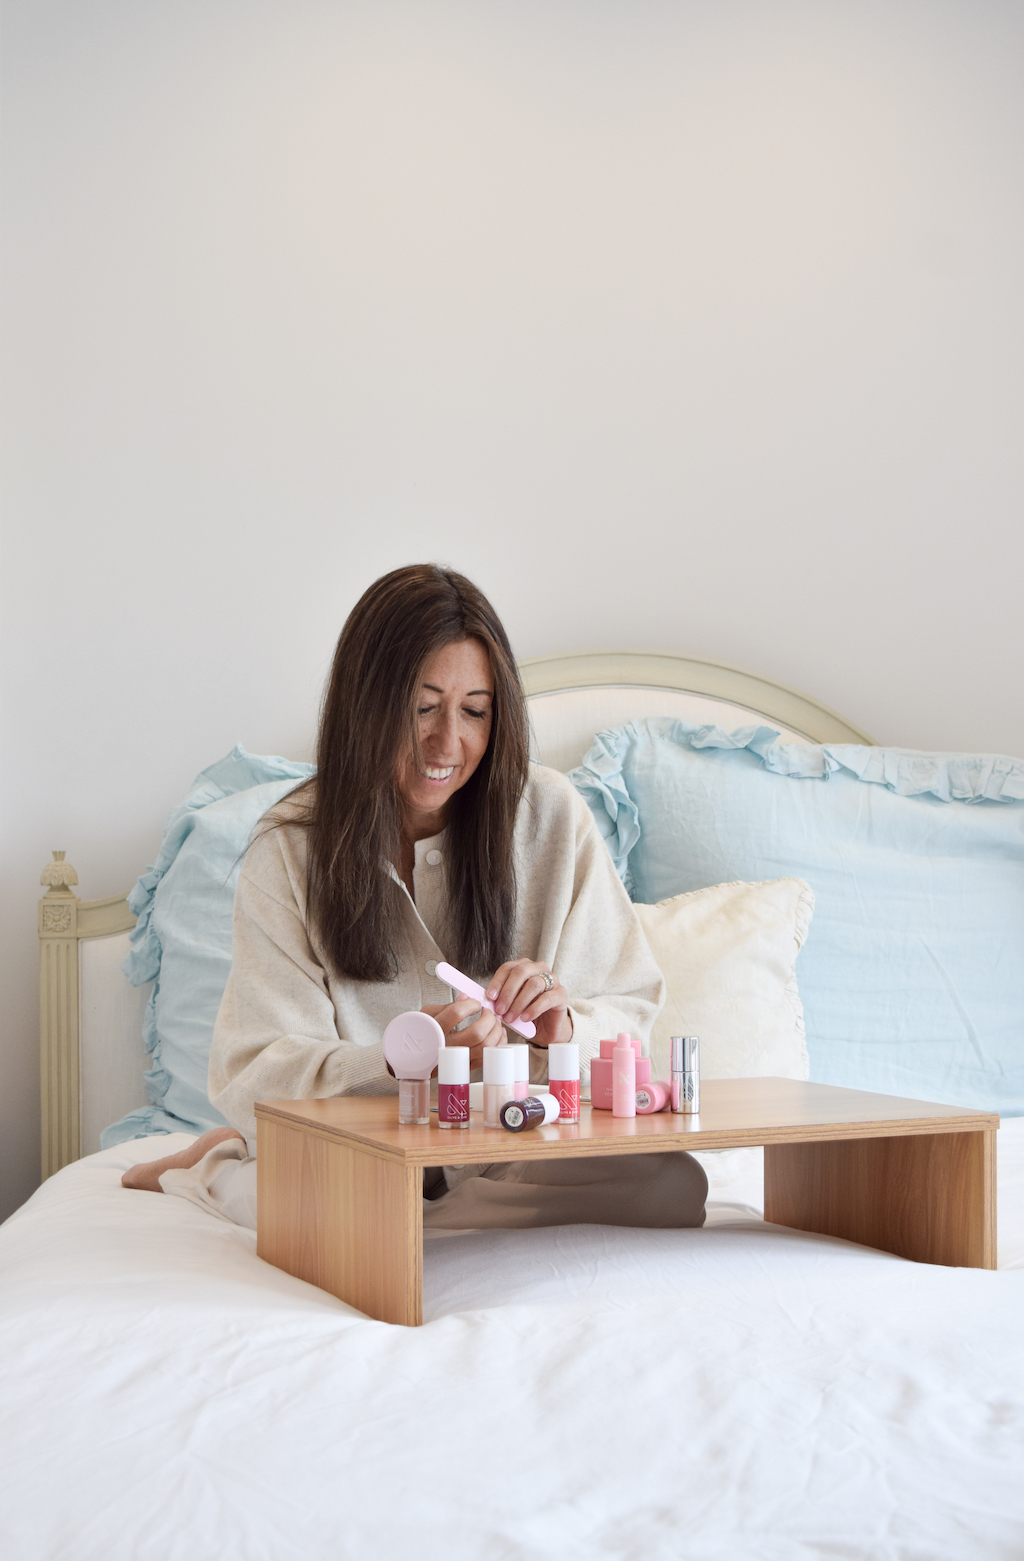
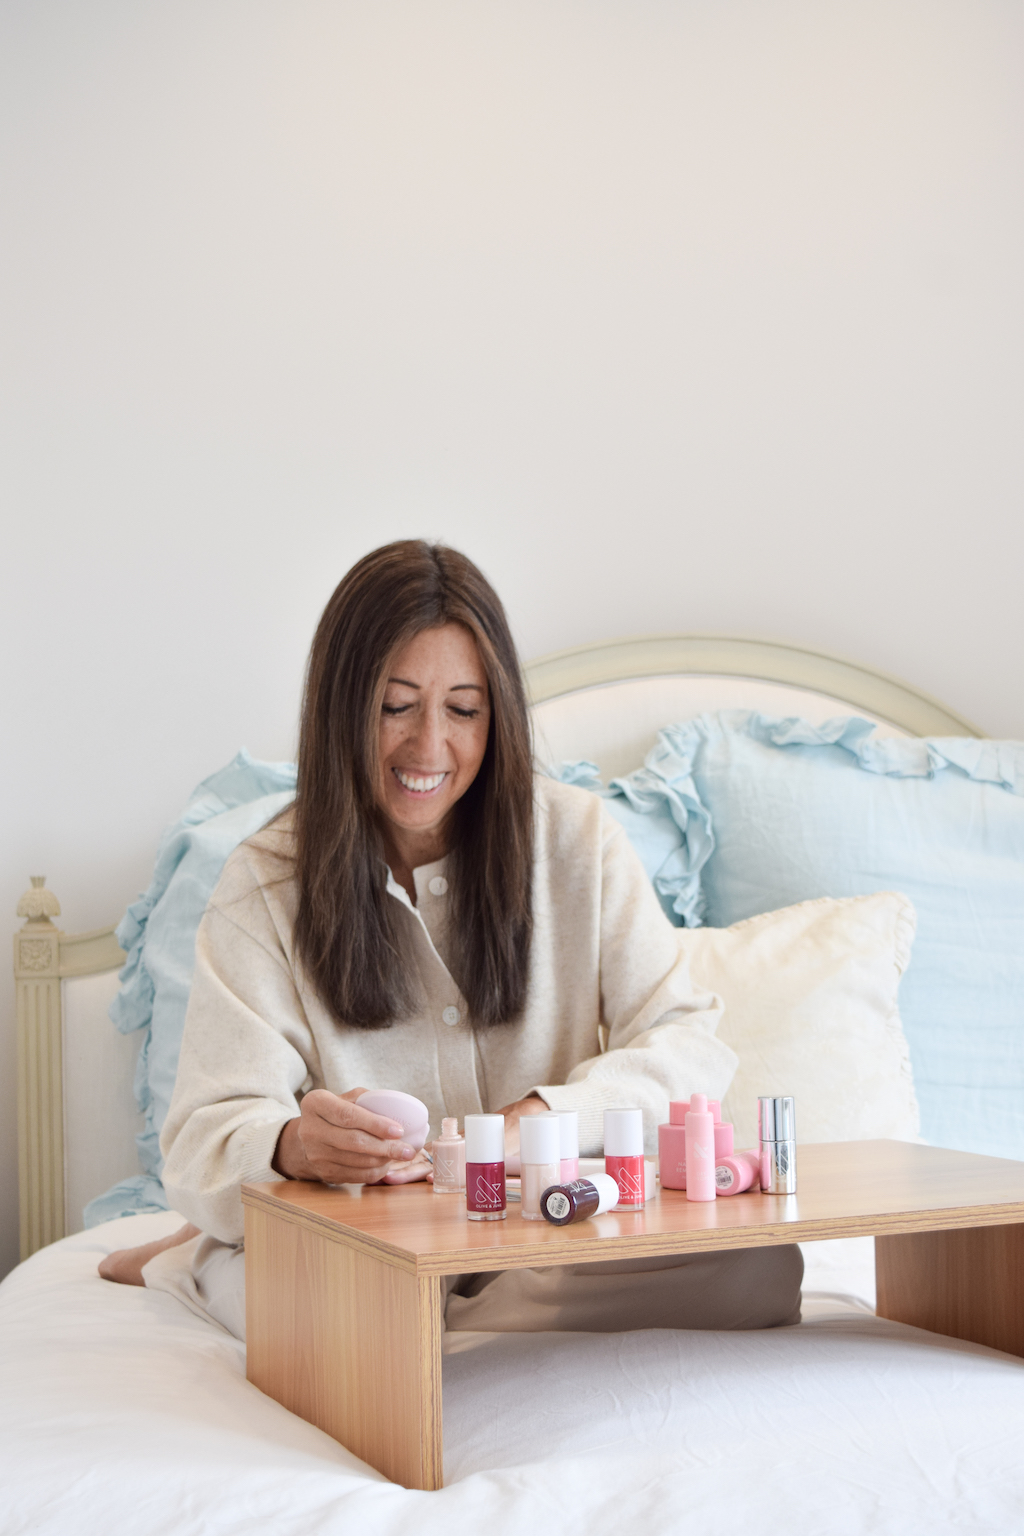
I was so excited to give myself a manicure. I love The Poppy as it makes it so easy to get a good grip even when I’m using my left hand (I’m a rightie!) I’ll admit I was a little nervous as to how my first manicure would come out because I’m not skilled at giving manicures nor am I patient! But I have to say it looked great and each time I do it I feel a little more confident in my skills and with the results. It’ so nice to be able to take care of my nails at home. I can change my polish whenever I want. It’s so convenient and I’m saving time and money-win win!
Use the code DIARY20 for 20% off your first Mani System!
Have fun pampering yourself!
This is great! I’ve been wanting to try Olive & June! Thanks for sharing! XO
Hi Christine, I’m so happy with my Mani System from Olive & June. Let me know what you get and how you like it! Don’t forget the discount code DIARY20 xo, Michele
I have just read how to take care of my hands and now my nails. I am sorted. I love that you get all you need in one system. But I also like your tips. I did not know about waterless nail varnish either.
Hi Hilda, It’s such a great system and yes, having everything in one place makes it so convenient. Plus all the tips and instruction available from Olive & June really make it super fun and easy! Don’t forget to use the discount code! 🙂 xo, Michele
Thanks for the turorial. I dont get professional manicures often and needed some advice:)
Hi Nancy, I’m always up for learning how to do things on my own and the tutorials offered by Olive & June have taught me so much! I’m glad it helped you as well!! xo, Michele